

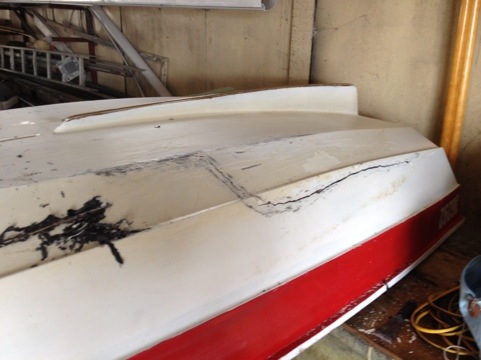
As regular readers will know, BONNIE, our dinghy, was horribly damaged during our grounding up at Georgetown recently.
Sam Hughes is the bosun at the Tamar Yacht Club, upon hearing about our membership with the CYCT, very kindly offered us the use of their shed. Yesterday, at high tide, I rowed BONNIE around with Alex and a bunch of tools.
The first job was to get the icky sticky Sikaflex 291 off. Turns out that was pretty easy with a heat gun… At least until I had to get it out of the split itself. That took a while!
The next job was sand back the paint inside and out. Without a belt sander handy, I used a disc fitting with 60 grit paper on our big drill, and that worked a treat.
Then I drilled holes either side of the split, and used zip ties to pull the plywood back together.

Today, after a trip to Tamar Marine and $100 later (ouch!), I cut the some 150mm tape down the middle (it’s cheaper to buy wide tape and cut it down than use twice as much narrow tape) and used it to tape the split together.
Now I have to wait until the epoxy cures and take the zip ties out…
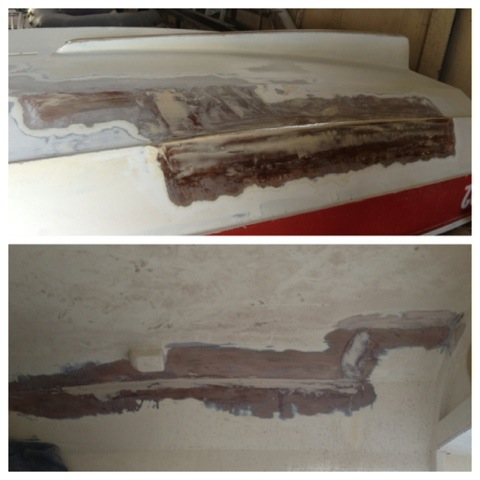
…and I came back after lunch when the epoxy was “leather hard” and trimmed off the hairy bits and saggy runs with a sharp knife. I removed the zip ties, then ran over the lot with some sandpaper to score up the surface.
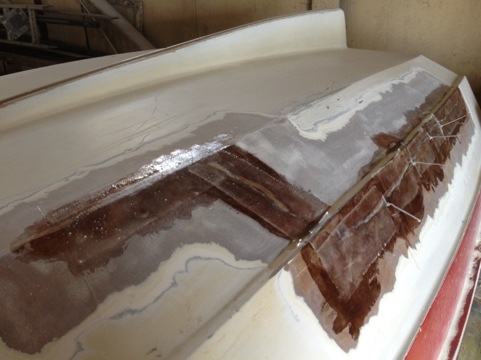
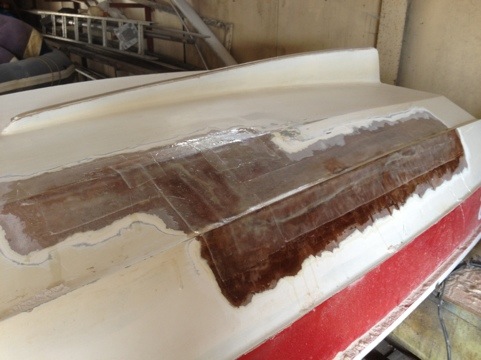
Then I applied two overlapping half tape widths across the damaged area. Working quickly (the pot was getting warm with the chemical reaction as the epoxy went off) I then put a full width layer over the lot.
Here is the outside all glassed up:
I’ll be tomorrow to sand and fair it off prior to painting, and do the interior glass work….
…back again this morning and started sanding. Disappointingly, there were a few air bubbles that needed to be ground out, and the tape didn’t set ripple free either. I think three layers laid up wet is probably the limit.
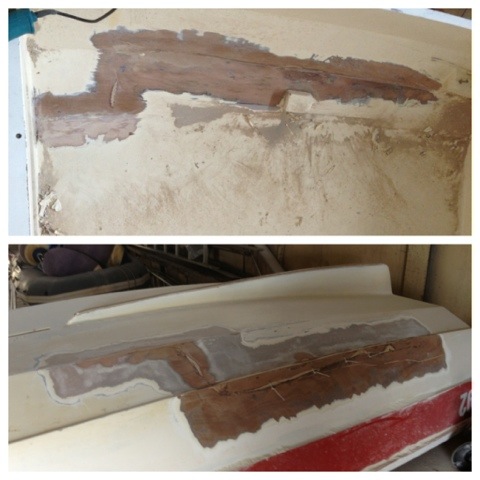
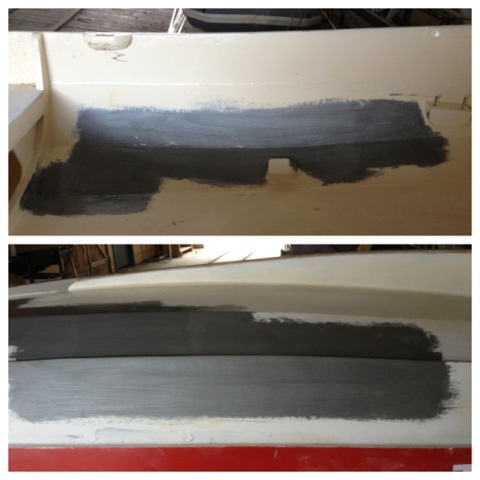
So I got stuck into sanding and it all cleaned up okay. I mixed up some fairing filler and faired off the ripples and depressions. I also applied some to the planking chine so I can it up to be a fair line with the rest of the plank. I had to round it off quite a bit to make a fair curve for the fiberglass to go over.
I got underneath and put the last bit of fairing mix into the crack in an effort to make (after sanding) a fair curve for the glass that needs to inside. I’m hoping to avoid the depressions and further fairing.
Here she is with the bog applied:
Now I need for the stuff to set so I can come back this afternoon and sand…
…and I’m back. The fairing compound went off nicely. It’s a ultralight WEST SYSTEM product. You seriously have to wear lung protection when using it, it billows up at the faintest disturbance.
Sanding down the outside reveled a persistent if slight hollow in a couple of locations, but I’ll be buggered if i’n repeating the fairing another few times and long-boarding it off.
I cut the tape to size for the interior, using a half-width across the split covered by a full width. I mixed up another 100g of epoxy and wet it all out in-situ.

I have just cleaned up and I’m off for a shower to get all this bloody itchy fiberglass dust off me, then it’s home to cook dinner.
Back again this morning, day 4. Sanded off the interior and I’m pretty happy with the finish. Not mirror smooth by any stretch, but good enough for the interior of a tender.
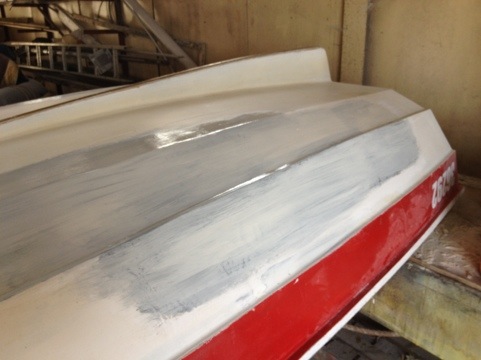
I applied some silver primer to the interior and exterior.
This stuff is WATTYL SeaPro TC90, and it looks like a liquid plastic. It seems to me like painting the hull in liquid duct tape! It dries quickly (its dried to the touch in the time its taken me to type this) and is excellent for sealing wood; we use it on the underwater parts of ERIK.
Now it’s time for a thinned top coat, as I don’t have any undercoat…
…and here she is, looking a lot better with a thin white on. I’ve always liked a girl with a thin white on!
I’ll wait now for this to dry, then put another coat on. Hopefully that’ll dry enough that I can get in the water and get her (and tools) back to ERIK to make the 5pm tide tonight…
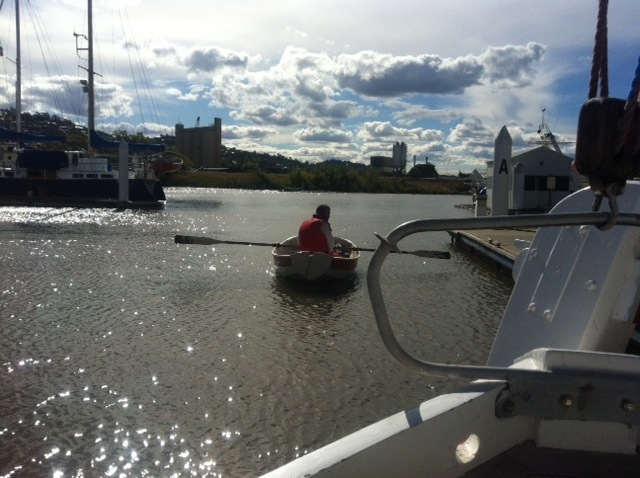
…Well, as you can see, we got her in ok, but we had visitors bring beer, so that was that for catching the tide.
The paint didn’t really dry very well. She’ll need a few more coats, which I’ll apply on a Barack somewhere… Later.
Anyway, I’ll take a beer over a hurried departure any day, so we decided to spend one more night here in the marina and go for walk up in the Gorge tomorrow. Then we’ll catch the 6pm tide and depart for the a northern Tamar.
5 Responses to Repairing the dinghy